Chapter 12 Arranging and Patterning Objects
377
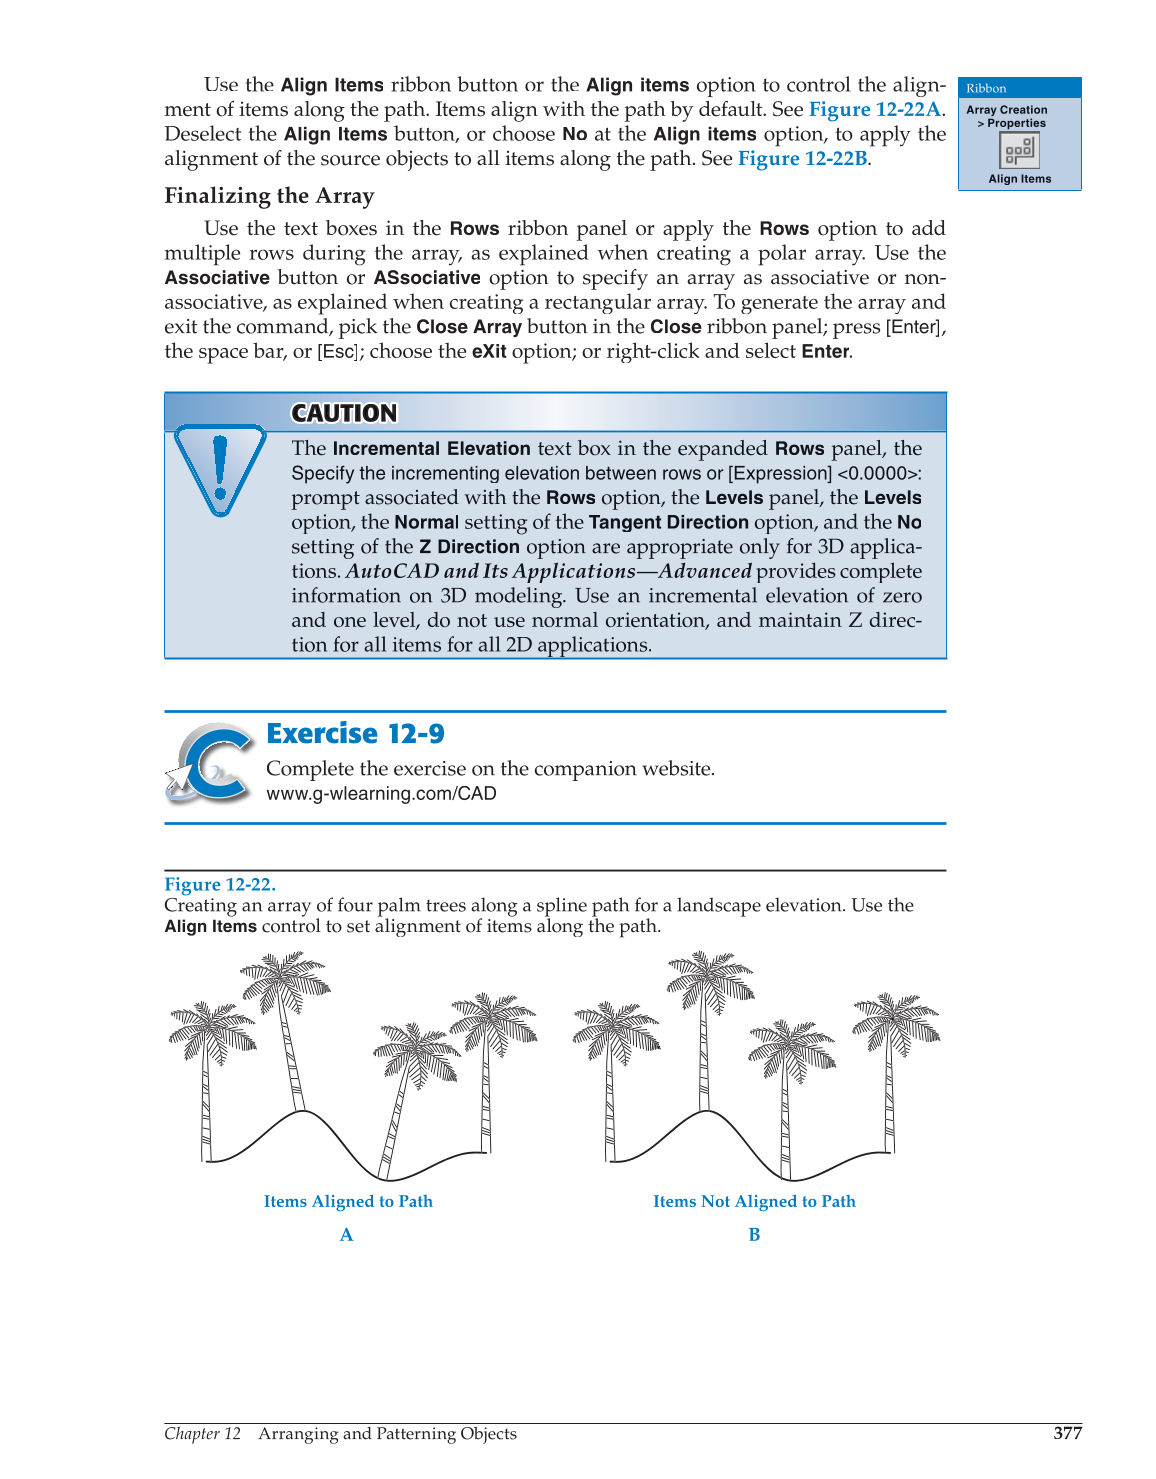
Use the
Align Items
ribbon button or the
Align items
option to control the align-
ment of items along the path. Items align with the path by default. See Figure 12-22A.
Deselect the
Align Items
button, or choose
No
at the
Align items
option, to apply the
alignment of the source objects to all items along the path. See Figure 12-22B.
Finalizing the Array
Use the text boxes in the
Rows
ribbon panel or apply the
Rows
option to add
multiple rows during the array, as explained when creating a polar array. Use the
Associative
button or
ASsociative
option to specify an array as associative or non-
associative, as explained when creating a rectangular array. To generate the array and
exit the command, pick the
Close Array
button in the
Close
ribbon panel; press [Enter],
the space bar, or [Esc]; choose the
eXit
option; or right-click and select Enter.
CAUT CA A U U T TI ON N
The
Incremental Elevation
text box in the expanded
Rows
panel, the
Specify the incrementing elevation between rows or [Expression] 0.0000:
prompt associated with the
Rows
option, the
Levels
panel, the
Levels
option, the
Normal
setting of the
Tangent Direction
option, and the
No
setting of the
Z Direction
option are appropriate only for 3D applica-
tions. AutoCAD and Its Applications—Advanced provides complete
information on 3D modeling. Use an incremental elevation of zero
and one level, do not use normal orientation, and maintain Z direc-
tion for all items for all 2D applications.
Exercise 12-9
Complete the exercise on the companion website.
www.g-wlearning.com/CAD
Ribbon
Array Creation
Properties
Align Items
Figure 12-22.
Creating an array of four palm trees along a spline path for a landscape elevation. Use the
Align Items
control to set alignment of items along the path.
Items Aligned to Path Items Not Aligned to Path
A B