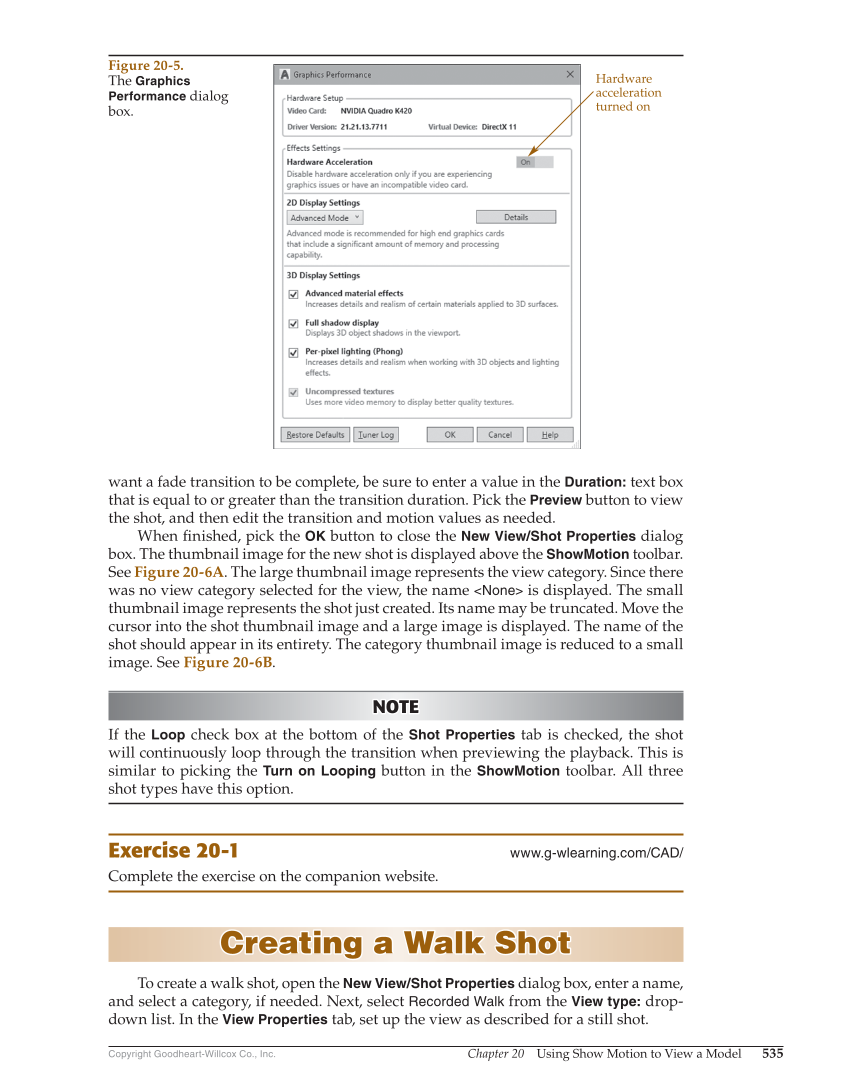
Chapter 20 Using Show Motion to View a Model 535 Copyright Goodheart-Willcox Co., Inc. want a fade transition to be complete, be sure to enter a value in the Duration: text box that is equal to or greater than the transition duration. Pick the Preview button to view the shot, and then edit the transition and motion values as needed. When fi nished, pick the OK button to close the New View/Shot Properties dialog box. The thumbnail image for the new shot is displayed above the ShowMotion toolbar. See Figure 20-6A. The large thumbnail image represents the view category. Since there was no view category selected for the view, the name None is displayed. The small thumbnail image represents the shot just created. Its name may be truncated. Move the cursor into the shot thumbnail image and a large image is displayed. The name of the shot should appear in its entirety. The category thumbnail image is reduced to a small image. See Figure 20-6B. NOTE NOTE If the Loop check box at the bottom of the Shot Properties tab is checked, the shot will continuously loop through the transition when previewing the playback. This is similar to picking the Turn on Looping button in the ShowMotion toolbar. All three shot types have this option. Exercise 20-1 www.g-wlearning.com/CAD/ Complete the exercise on the companion website. Creating a Walk Shot Creating a Walk Shot To create a walk shot, open the New View/Shot Properties dialog box, enter a name, and select a category, if needed. Next, select Recorded Walk from the View type: drop- down list. In the View Properties tab, set up the view as described for a still shot. Hardware acceleration turned on Figure 20-5. The Graphics Performance dialog box.
