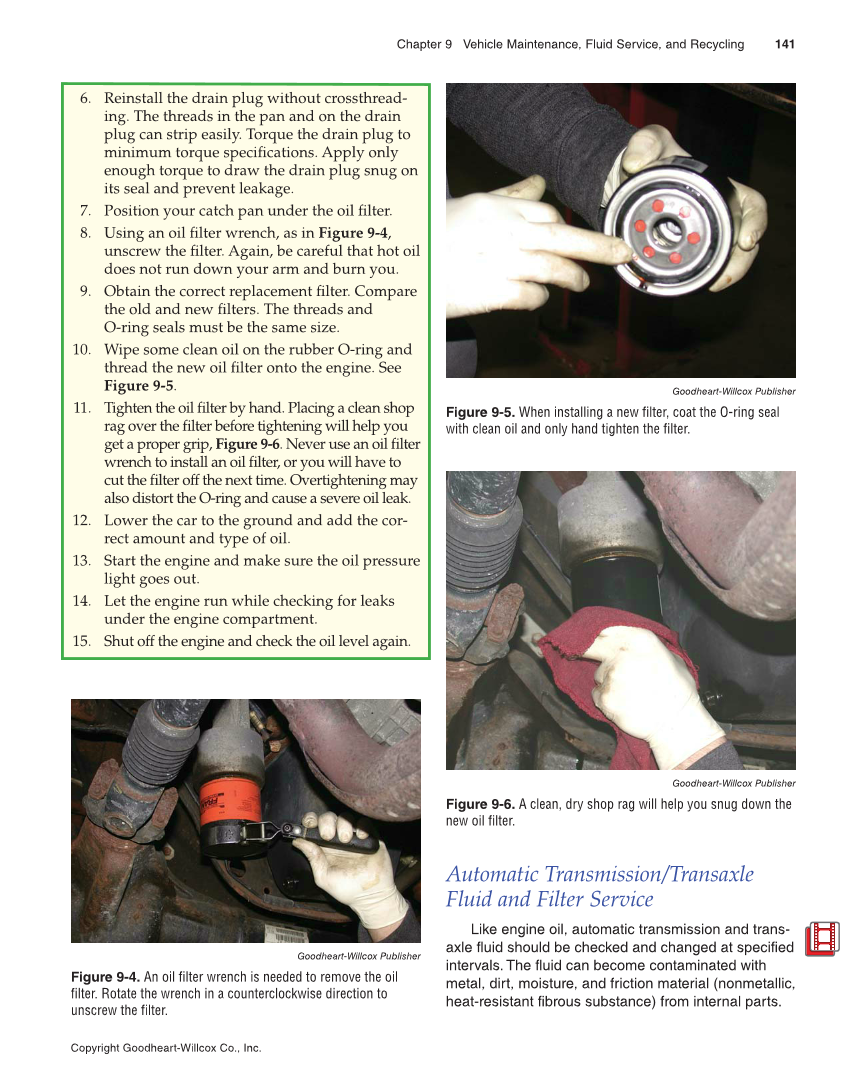
Chapter 9 Vehicle Maintenance, Fluid Service, and Recycling 141 Copyright Goodheart-Willcox Co., Inc. 6. Reinstall the drain plug without crossthread- ing. The threads in the pan and on the drain plug can strip easily. Torque the drain plug to minimum torque specifications. Apply only enough torque to draw the drain plug snug on its seal and prevent leakage. 7. Position your catch pan under the oil filter. 8. Using an oil filter wrench, as in Figure 9-4, unscrew the filter. Again, be careful that hot oil does not run down your arm and burn you. 9. Obtain the correct replacement filter. Compare the old and new filters. The threads and O-ring seals must be the same size. 10. Wipe some clean oil on the rubber O-ring and thread the new oil filter onto the engine. See Figure 9-5. 11. Tighten the oil filter by hand. Placing a clean shop rag over the filter before tightening will help you get a proper grip, Figure 9-6. Never use an oil filter wrench to install an oil filter, or you will have to cut the filter off the next time. Overtightening may also distort the O-ring and cause a severe oil leak. 12. Lower the car to the ground and add the cor- rect amount and type of oil. 13. Start the engine and make sure the oil pressure light goes out. 14. Let the engine run while checking for leaks under the engine compartment. 15. Shut off the engine and check the oil level again. Automatic Transmission/Transaxle Fluid and Filter Service Like engine oil, automatic transmission and trans- axle fluid should be checked and changed at specified intervals. The fluid can become contaminated with metal, dirt, moisture, and friction material (nonmetallic, heat-resistant fibrous substance) from internal parts. Goodheart-Willcox Publisher Figure 9-4. An oil filter wrench is needed to remove the oil filter. Rotate the wrench in a counterclockwise direction to unscrew the filter. Goodheart-Willcox Publisher Figure 9-5. When installing a new filter, coat the O-ring seal with clean oil and only hand tighten the filter. Goodheart-Willcox Publisher Figure 9-6. A clean, dry shop rag will help you snug down the new oil filter.