26
AutoCAD and Its Applications—Advanced
One edge, corner, or face of the view cube is always shaded or highlighted. Refer
to Figure 1-13. This shading indicates the viewpoint on the cube that is closest to the
current view.
The
NAVVCUBE
command has many options. This discussion is merely an intro-
duction to the command. The command options and view cube features are covered
in detail in Chapter 3.
Exercise 1-3
Complete the exercise on the companion website.
www.g-wlearning.com/CAD
Introduction to 3D Model Display Introduction to 3D Model Display
Using Visual Styles Using Visual Styles
The display of a 3D model is how the model is presented. This does not refer
to the viewing angle, but rather colors, edge display, and shading or rendering. An
object can be shaded from any viewpoint. A model can be edited while still keeping
the object shaded. This can make it easier to see how the model is developing without
having to reshade the drawing. However, when editing a shaded object, it may also be
more difficult to select features. fi
A 3D model can be displayed in a variety of visual styles. A visual style is a
combination of settings that control the display of edges and shading in a viewport.
There are 10 basic visual styles—2D Wireframe, Conceptual, Hidden, Realistic, Shaded,
Shaded with
Edges,
Shades of
Gray,
y y
Sketchy,
y y
Wireframe, and X-ray. A wireframe display
shows all lines on the object, including those representing back or internal features. A
hidden display suppresses the display of lines that would normally be hidden.
A shaded display of the model can be created by setting the visual style to
Conceptual, Realistic, or one of the shaded visual styles. The
X-ray
style presents the
model in muted, translucent colors, and all hidden lines are displayed. This may be
a good choice to use in the design of a model. The
Realistic
visual style is considered
the most realistic shaded display. A more detailed shaded model, a rendered display
of the model, can be created with the
RENDER
command. A rendering is the most
realistic presentation.
Examples of the basic visual styles are shown in Figure 1-14. To change styles,
select one from the
Visual Style Controls
flyout in the viewport controls. Refer to fl
Figure 1-10C. You can also use the
VSCURRENT
command or the drop-down list in
the
View
panel on the
Home
tab or the
Visual Styles
panel on the
View
tab in the ribbon.
See Figure 1-15.
PROFESSIONAL O NA TIP T P PROF RO FE S S I O A L T I P NA AL T TI P
The
UNDO
command reverses the effects of the
NAVVCUBE
command.
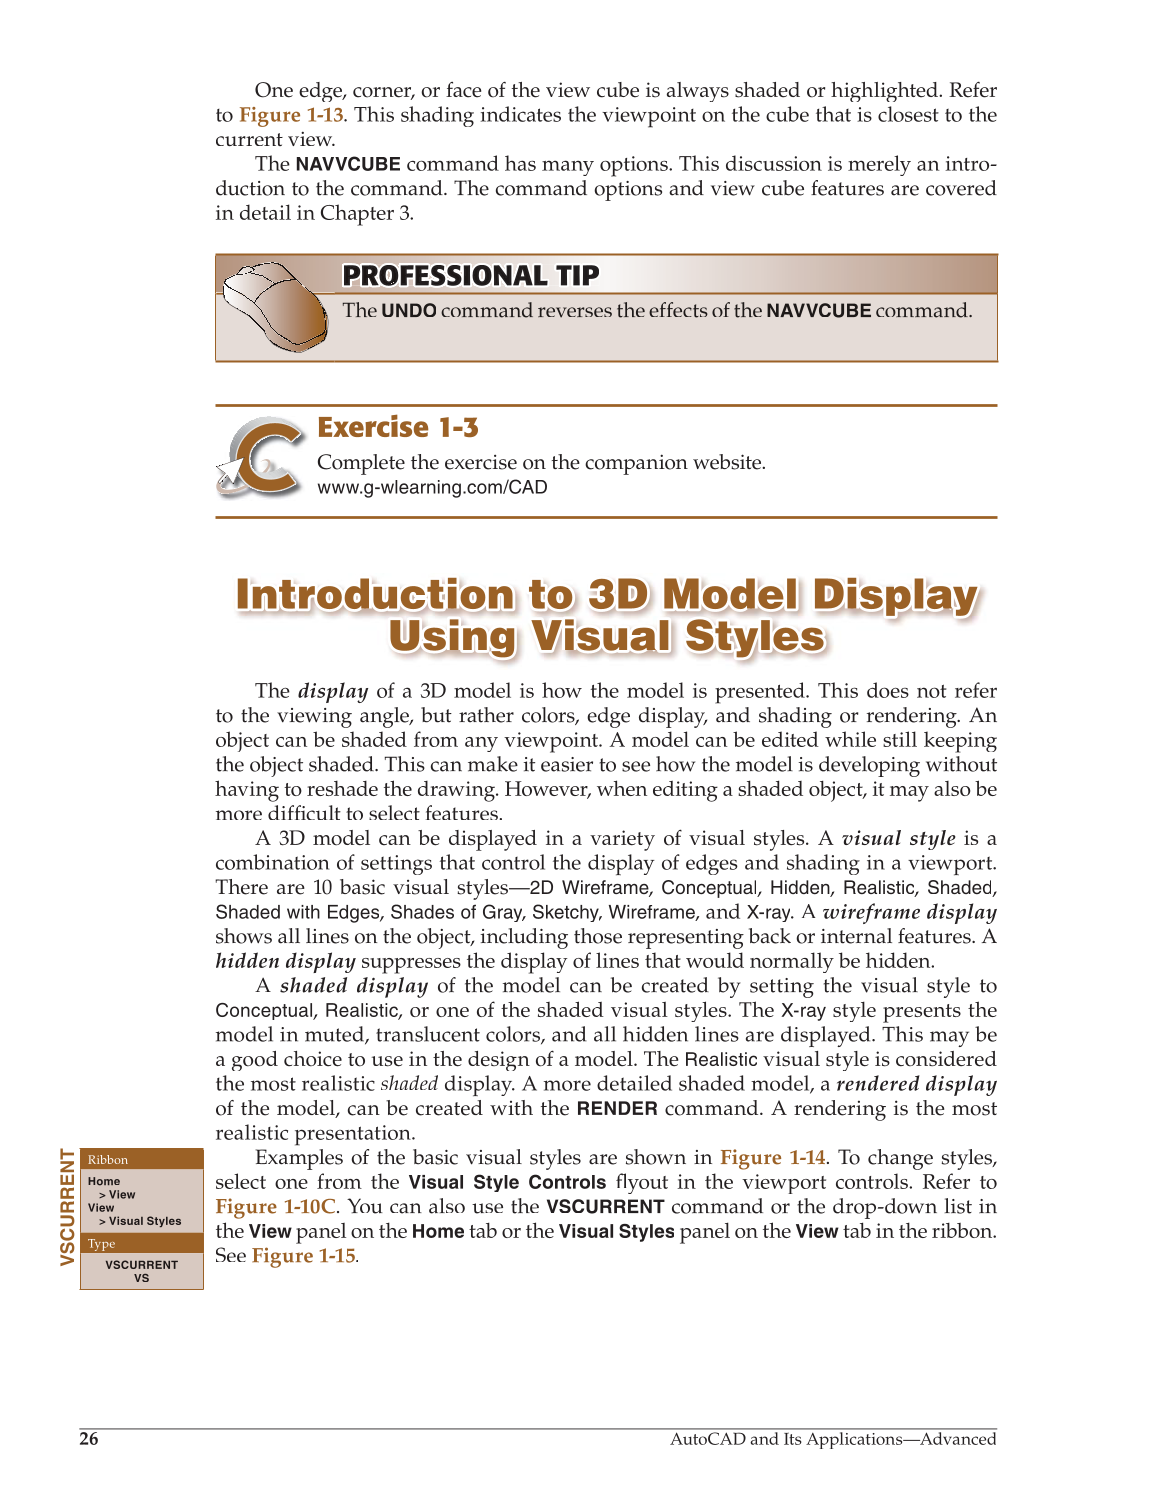
VSCURRENT
Ribbon
Home
View
View
Visual Styles
Type
VSCURRENT
VS