Copyright Goodheart-Willcox Co., Inc.
190
AutoCAD and Its Applications—Advanced
parallel to the required axis of rotation. Once you defi ne the center axis, you can adjust
the array using grips, the
Array Creation
ribbon tab, or the command line prompts.
Specify center point of array or [Base point/Axis of rotation]:
(Use the
Center
object
snap to pick the center point of the top arc of the first platform)
Select grip to edit array or [ASsociative/Base point/Items/Angle between/Fill angle/
ROWs/Levels/ROTate items/eXit] eXit: I↵
Enter number of items in array or [Expression] 6: 8↵
Select grip to edit array or [ASsociative/Base point/Items/Angle between/Fill angle/
ROWs/Levels/ROTate items/eXit] eXit: F↵
Specify the angle to fill (+=ccw, –=cw) or [EXpression] 360: 80↵
Select grip to edit array or [ASsociative/Base point/Items/Angle between/Fill angle/
ROWs/Levels/ROTate items/eXit] eXit: ROWS↵
Enter the number of rows or [Expression] 1: 6↵
Specify the distance between rows or [Total/Expression]
current:
96↵
Specify the incrementing elevation between rows or [Expression] 0.0000: 7↵
Select grip to edit array or [ASsociative/Base point/Items/Angle between/Fill angle/
ROWs/Levels/ROTate items/eXit] eXit: ↵
The result is shown in Figure 8-14B. Notice that each successive row of seats is
situated on a higher plane. In more complex models, the
Levels
option can be used to
create multiple levels of rows.
NOTE NOTE
The
Expression
option allows you to enter a mathematical expression to calculate one
of the array parameters. For example, you can enter an expression to calculate the
number of items, rows, or levels. The
Expression
option can also be used to defi ne the
spacing between rows and the incrementing elevation.
Exercise 8-6
www.g-wlearning.com/CAD/
Complete the exercise on the companion website.
3D Path Arrays
A 3D path array is similar to a 2D path array. Objects can be arrayed along a
path or a segment of a path. The path, also called a path curve, can be a line, circle, arc,
ellipse, spline, polyline, helix, or 3D polyline. See Figure 8-15. As with a 3D polar array,
you can create a 3D arrangement in rows, levels, or both rows and levels. A 3D path
array can be created as an associative or non-associative array.
To create a 3D path array, select the
ARRAYPATH
command. Select the object to
array and press [Enter]. You are prompted to select the path curve. The object to be
arrayed does not have to intersect the path curve. Once you select the path curve, an
initial pattern forms. You can use the array grips to adjust the pattern dynamically or
you can use the
Array Creation
ribbon tab to make settings. The settings can also be
made using the command prompts. If needed, use the
Associative
option to defi ne the
array as associative or non-associative.
The
Method
option is used to specify how objects are distributed along the path.
The two options available are
Divide
and Measure. The
Divide
option distributes the
specifi ed number of objects evenly along the path. The
Measure
option distributes
the objects at specifi c distances along the path. The
Items
option works in conjunction
with the
Method
option and allows you to specify the number of objects. When using
the
Measure
option, you can specify the spacing between objects or the total distance
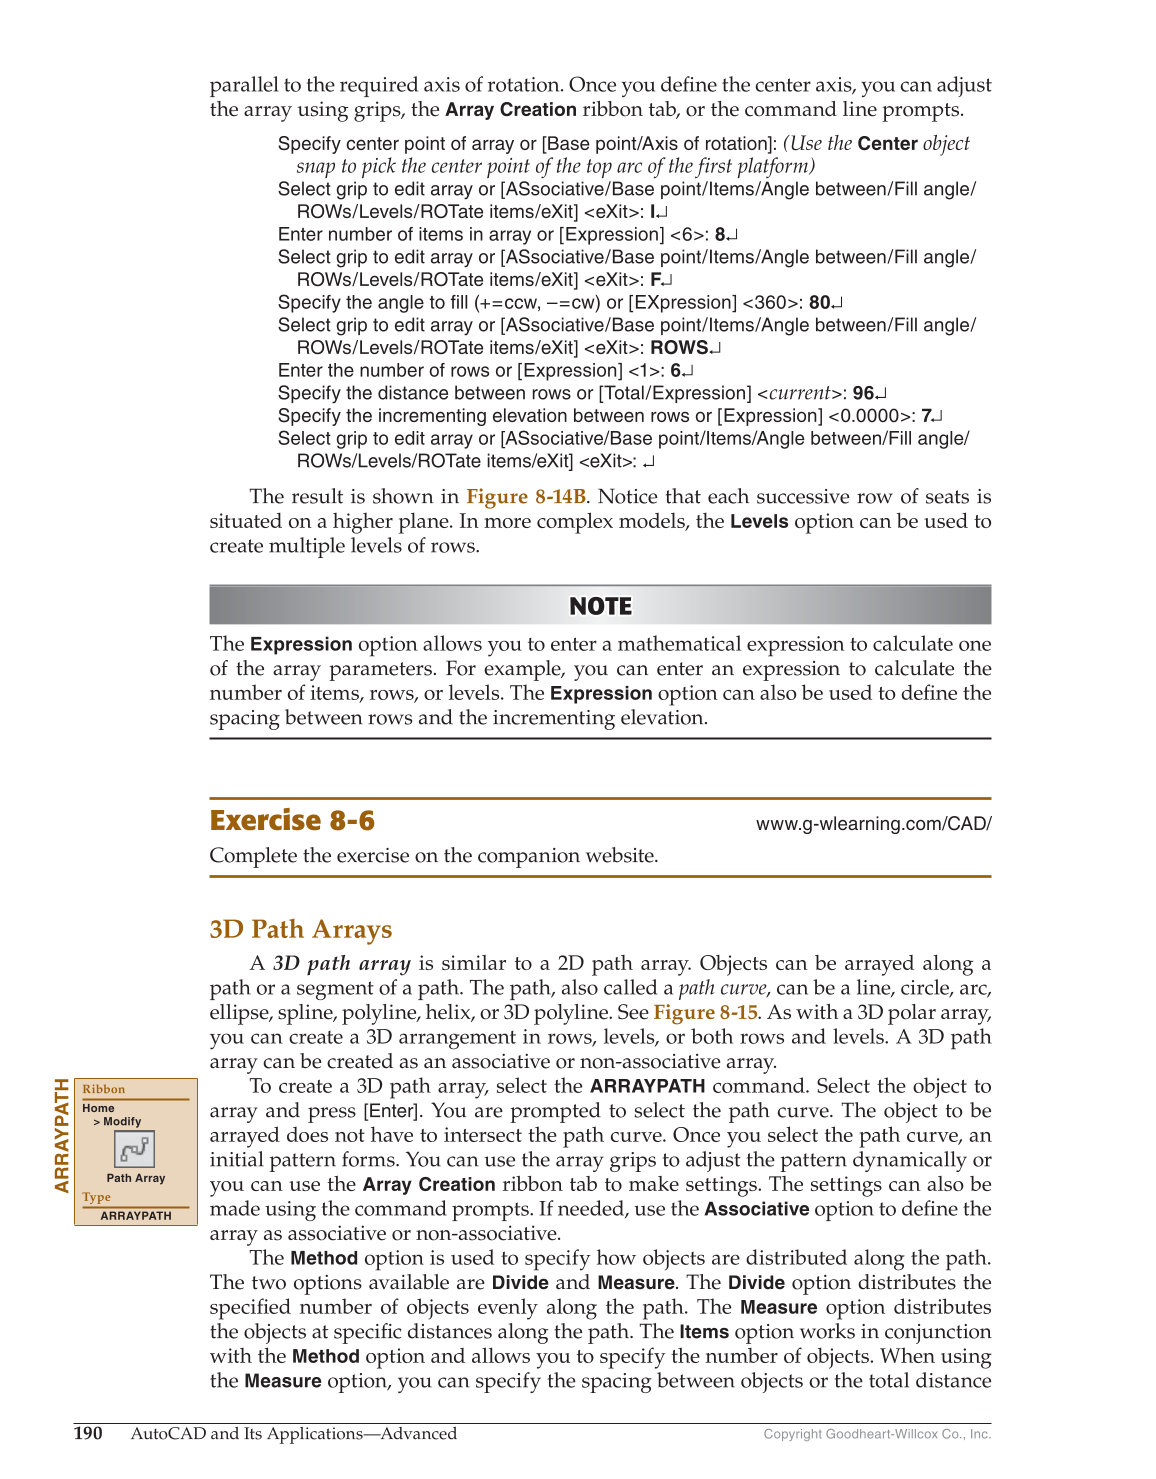
ARRAYPATH
Ribbon
Home
Modify
Path Array
Type
ARRAYPATH