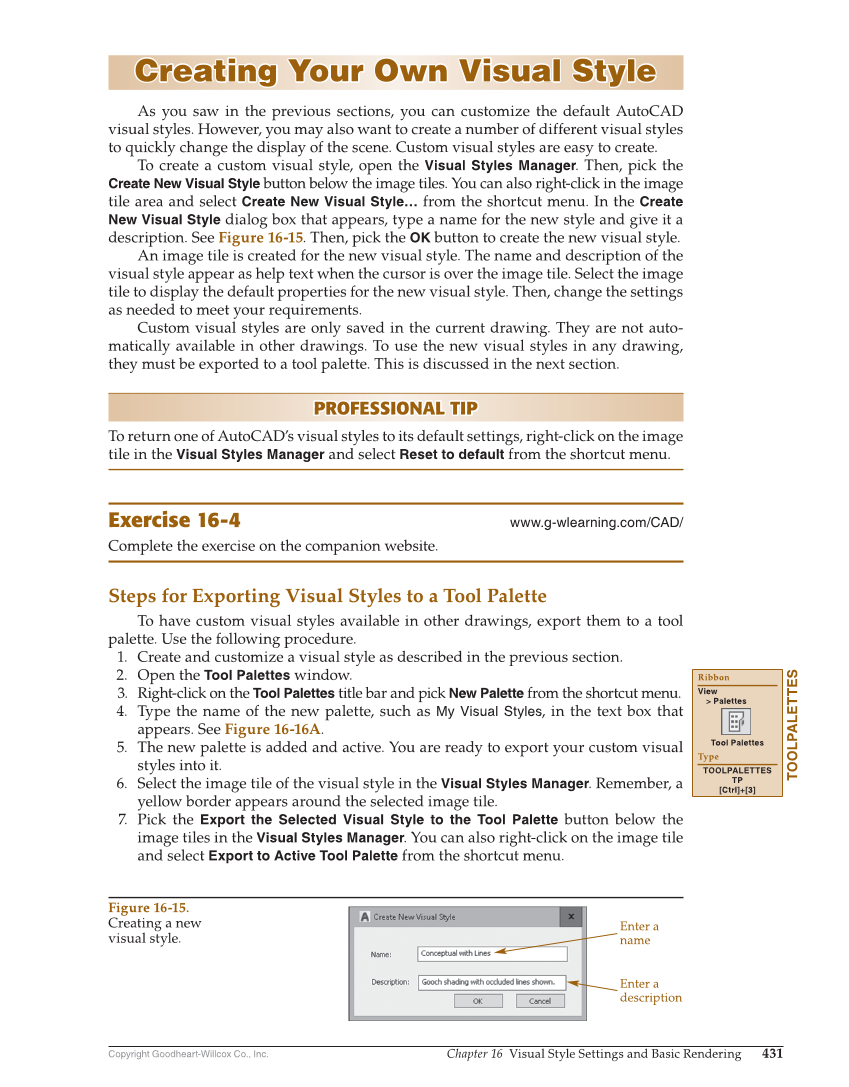
Copyright Goodheart-Willcox Co., Inc. Chapter 16 Visual Style Settings and Basic Rendering 431 Creating Your Own Visual Style Creating Your Own Visual Style As you saw in the previous sections, you can customize the default AutoCAD visual styles. However, you may also want to create a number of different visual styles to quickly change the display of the scene. Custom visual styles are easy to create. To create a custom visual style, open the Visual Styles Manager. Then, pick the Create New Visual Style button below the image tiles. You can also right-click in the image tile area and select Create New Visual Style… from the shortcut menu. In the Create New Visual Style dialog box that appears, type a name for the new style and give it a description. See Figure 16-15. Then, pick the OK button to create the new visual style. An image tile is created for the new visual style. The name and description of the visual style appear as help text when the cursor is over the image tile. Select the image tile to display the default properties for the new visual style. Then, change the settings as needed to meet your requirements. Custom visual styles are only saved in the current drawing. They are not auto- matically available in other drawings. To use the new visual styles in any drawing, they must be exported to a tool palette. This is discussed in the next section. PROFESSIONAL TIP PROFESSIONAL TIP To return one of AutoCAD’s visual styles to its default settings, right-click on the image tile in the Visual Styles Manager and select Reset to default from the shortcut menu. Exercise 16-4 www.g-wlearning.com/CAD/ Complete the exercise on the companion website. Steps for Exporting Visual Styles to a Tool Palette To have custom visual styles available in other drawings, export them to a tool palette. Use the following procedure. 1. Create and customize a visual style as described in the previous section. 2. Open the Tool Palettes window. 3. Right-click on the Tool Palettes title bar and pick New Palette from the shortcut menu. 4. Type the name of the new palette, such as My Visual Styles, in the text box that appears. See Figure 16-16A. 5. The new palette is added and active. You are ready to export your custom visual styles into it. 6. Select the image tile of the visual style in the Visual Styles Manager. Remember, a yellow border appears around the selected image tile. 7. Pick the Export the Selected Visual Style to the Tool Palette button below the image tiles in the Visual Styles Manager. You can also right-click on the image tile and select Export to Active Tool Palette from the shortcut menu. TOOLPALETTES Ribbon View Palettes Tool Palettes Type TOOLPALETTES TP [Ctrl]+[3] Enter a name Enter a description Figure 16-15. Creating a new visual style.