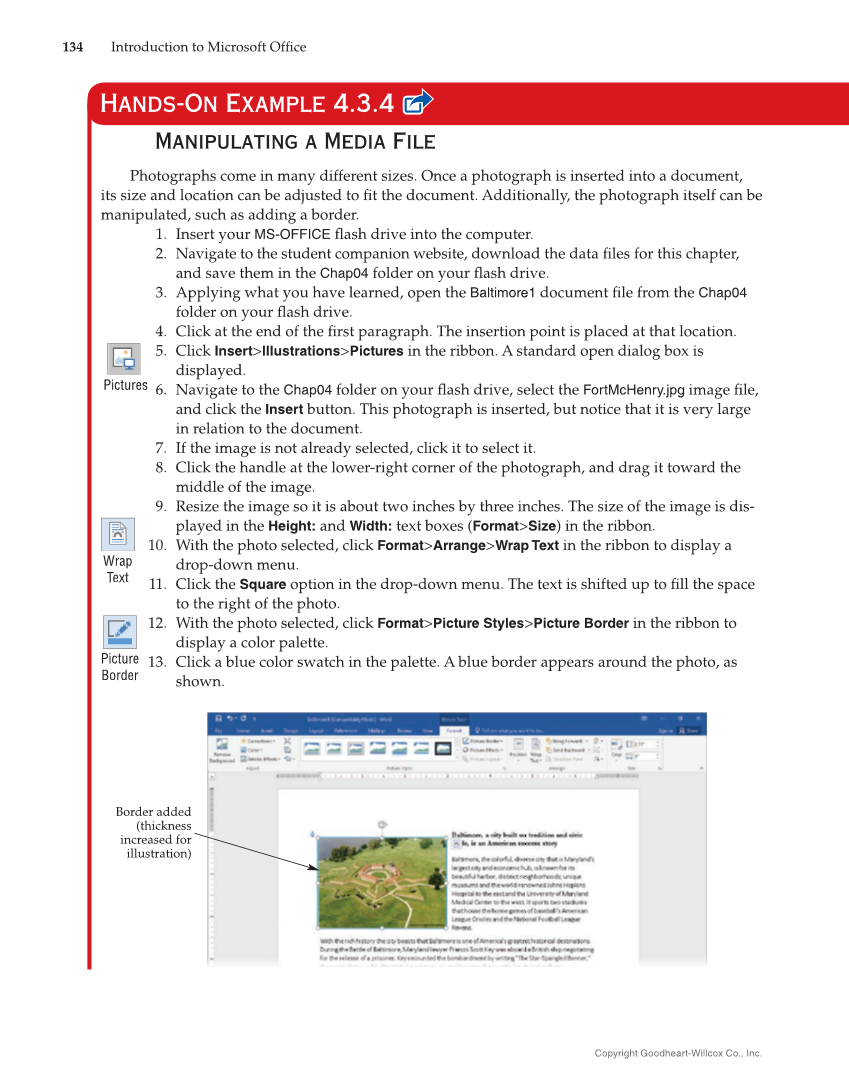
134 Introduction to Microsoft Offi ce Copyright Goodheart-Willcox Co., Inc. Manipulating a Media File Photographs come in many different sizes. Once a photograph is inserted into a document, its size and location can be adjusted to fi t the document. Additionally, the photograph itself can be manipulated, such as adding a border. 1. Insert your MS-OFFICE fl ash drive into the computer. 2. Navigate to the student companion website, download the data fi les for this chapter, and save them in the Chap04 folder on your fl ash drive. 3. Applying what you have learned, open the Baltimore1 document fi le from the Chap04 folder on your fl ash drive. 4. Click at the end of the fi rst paragraph. The insertion point is placed at that location. 5. Click Insert Illustrations Pictures in the ribbon. A standard open dialog box is displayed. 6. Navigate to the Chap04 folder on your fl ash drive, select the FortMcHenry.jpg image fi le, and click the Insert button. This photograph is inserted, but notice that it is very large in relation to the document. 7. If the image is not already selected, click it to select it. 8. Click the handle at the lower-right corner of the photograph, and drag it toward the middle of the image. 9. Resize the image so it is about two inches by three inches. The size of the image is dis- played in the Height: and Width: text boxes (Format Size) in the ribbon. 10. With the photo selected, click Format Arrange Wrap Text in the ribbon to display a drop-down menu. 11. Click the Square option in the drop-down menu. The text is shifted up to fi ll the space to the right of the photo. 12. With the photo selected, click Format Picture Styles Picture Border in the ribbon to display a color palette. 13. Click a blue color swatch in the palette. A blue border appears around the photo, as shown. Pictures Wrap Text Picture Border Border added (thickness increased for illustration) Hands-On Example 4.3.4